The Definitive Guide for Landscape Lighting Nashville
Wiki Article
5 Simple Techniques For Landscape Lighting Nashville
Table of ContentsNot known Details About Landscape Lighting Nashville An Unbiased View of Landscape Lighting NashvilleAbout Landscape Lighting NashvilleNot known Details About Landscape Lighting Nashville All about Landscape Lighting Nashville
:-RRB- Additionally, I can use this in another place later and get a smaller sized pack for this location. OK, you have actually obtained your lights and your power pack. Now you require to find out the cable you'll need. There's a helpful dandy guide for you: I got hold of 14 gauge, and again, I might have gone smaller 16 scale would have been great: As you can guess, the costs go down with the lower power pack wattage and with the reduced wire ability.You might do nine path lights for under 100 watts as well. The fantastic point is you can prevent figuring all this out and simply buy a kit it has whatever you'll require in it: Yet if you want to blend your lights like I did (or you want much more lights), you'll desire to purchase whatever independently.
Experiment with it: Obtain a great idea of where you want them after the wire is mounted you will not have the ability to move them about much. When you're excellent with the place, get your cable: Lay it out from one light to the last light. I give myself a little provide in between lights so I can move them around a little bit if required.
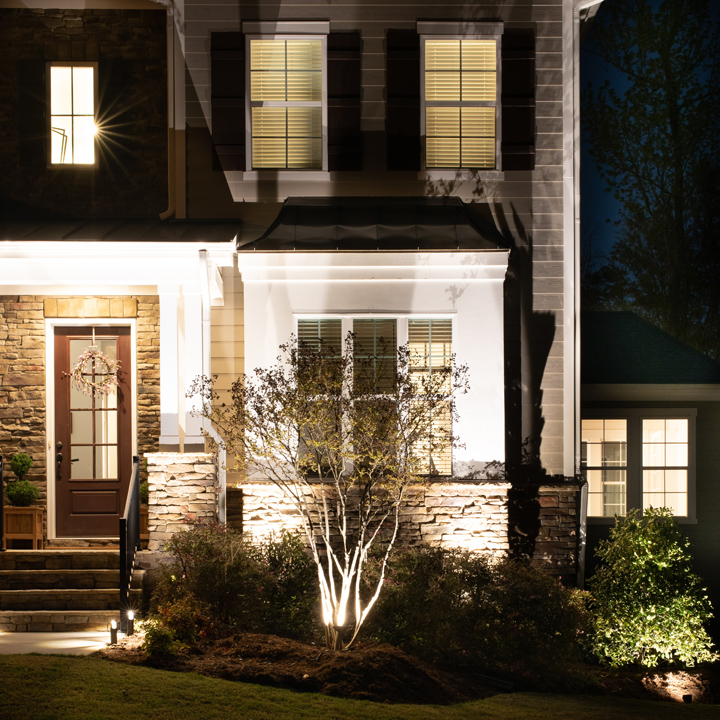
It's even more hazardous to plug in a lamp.;-RRB- Each light has a little port. You'll unscrew the bottom part of it, then run the wire with that bottom part and after that screw the port back together: You see those sharp metal items in the picture to the left?
Our Landscape Lighting Nashville Diaries
Maintain going down your wire and link each light. When you get to the end where your lights will be connected in, you'll get to the last action.Don't turn the two cables with each other turn the strands of each one. I utilized the variation on the right so the wires wouldn't be revealed to the elements as much.
This power pack has an area for 2 wires to be connected into it. As long as they equal to 200 watts or much less, you might have one collection of landscaping lights going one instructions from your electrical outlet, and another set going the other direction. Set up the screws once again, seeing to it to tighten as long as you can: You're done! Whoot! Just plug in your power pack and turn it on: These have an alternative to maintain them on all the time, activate and after that stay on for one to nine hours or to turn on immediately when the sun decreases.
After you have actually obtained the light bulbs set up and it's on, you can change the placement of your lights a bit. While I was at it I spray painted our hose overviews that were looking a little used: Spray paint strikes once more! You'll be stunned at how nice it looks. Just a caution.
An Unbiased View of Landscape Lighting Nashville
I have a couple of more plants I plan to include to this side also: The list never ever ends, inside or out, and I enjoy it!:-RRB- I wish this tutorial helps those of you that have an interest in tackling this on your own. Landscape Lighting Nashville. It is truly one of the easiest diy projectsThe complete cost of my task was concerning $180, yet that includes 3 lights I can use somewhere else and extra wire. As I stated, the power pack was more than I required, so I'll obtain a more affordable one and relocate that to the back when I start the lights around the deck and patio.
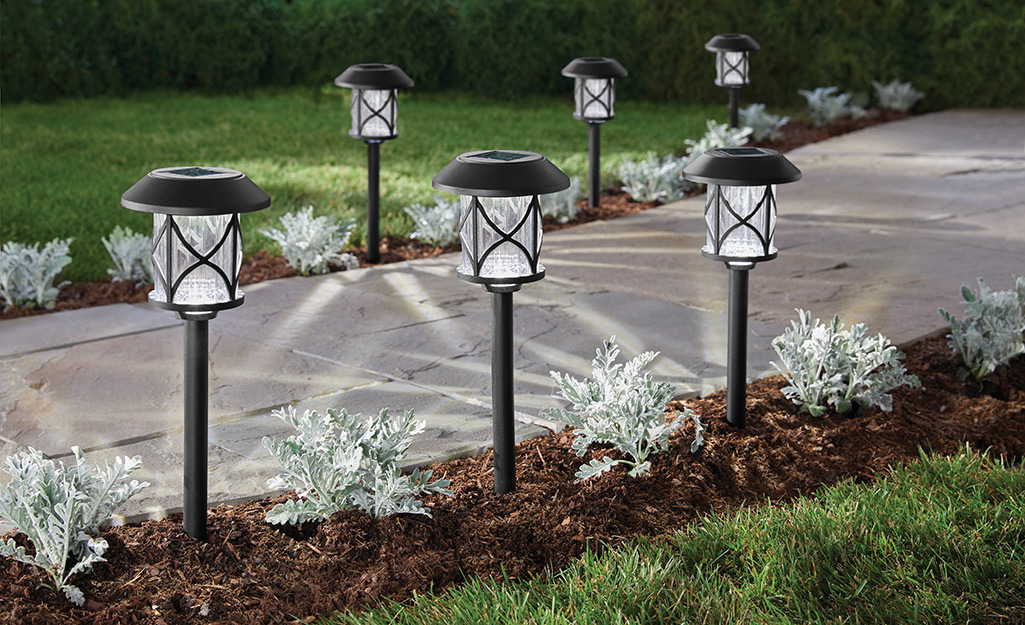
Decide whether you want a plug-and-play set up or if you're pop over here comfy functioning with lights that have pigtail cord leads. Pigtail cables will certainly need the usage of cord cutters, wire pole dancers, and additional info silicone-filled twist-on cable adapters or splice adapters to connect right into your main landscape line.
Transfer those dimensions to your illustration. Think of light positioning and whether the component or any accessories will enter into call with lawn mowers or trimmers. This will help you obtain a clear picture of the best electrical wiring technique and how much wire you'll need. There are several ways you can wire your lights to decrease the amount of cord needed or prevent a power problem known as voltage drop.
Not known Incorrect Statements About Landscape Lighting Nashville
You can likewise use a voltmeter to test what each light obtains after you wire them to the transformer. The daisy-chain technique involves end-to-end connection within a collection of fixtures where just one end fixture is attached to the transformer. You can save cord by using this technique, however it is not optimal for teams of spread lights.I have a few even more plants I plan to include in this side as well: The checklist never finishes, inside or out, and I love it!:-RRB- I wish this tutorial assists those of you that have an interest in tackling this on your own. It is truly among the easiest diy jobs.

The overall price of my task was concerning $180, yet that includes three lights I can make use of in other places and additional cable. Likewise, as I discussed, the power pack was more than I required, so I'll get a more affordable one and move that to the back when I begin the lights around the deck and outdoor patio.
Make a decision whether you desire a plug-and-play mount or if you're comfortable functioning with lights that have pigtail cord leads. Pigtail wires will call for the use of cord cutters, cable strippers, and silicone-filled twist-on cord connectors or splice adapters to link into your major landscape line.
The Best Strategy To Use For Landscape Lighting Nashville
You can additionally utilize a voltmeter to test what each light gets after you wire them to the transformer. The daisy-chain approach entails end-to-end connection within a collection of fixtures where just one end fixture is connected to the transformer - Landscape Lighting Nashville. You can save cord by using this approach, however it is not excellent for teams of spread lights
Report this wiki page